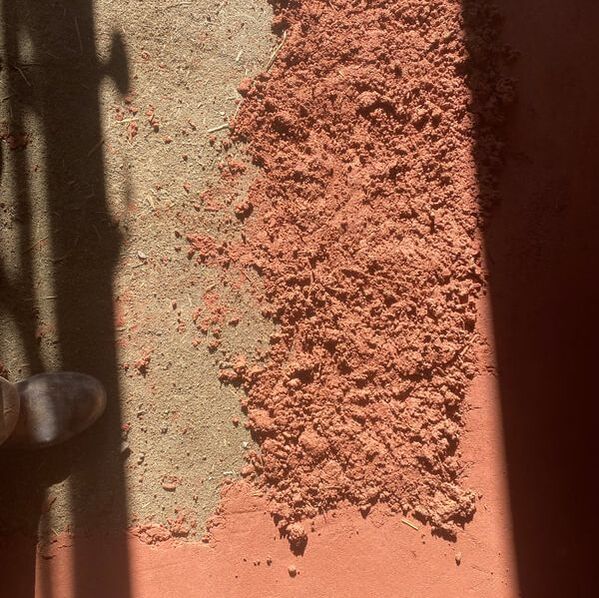
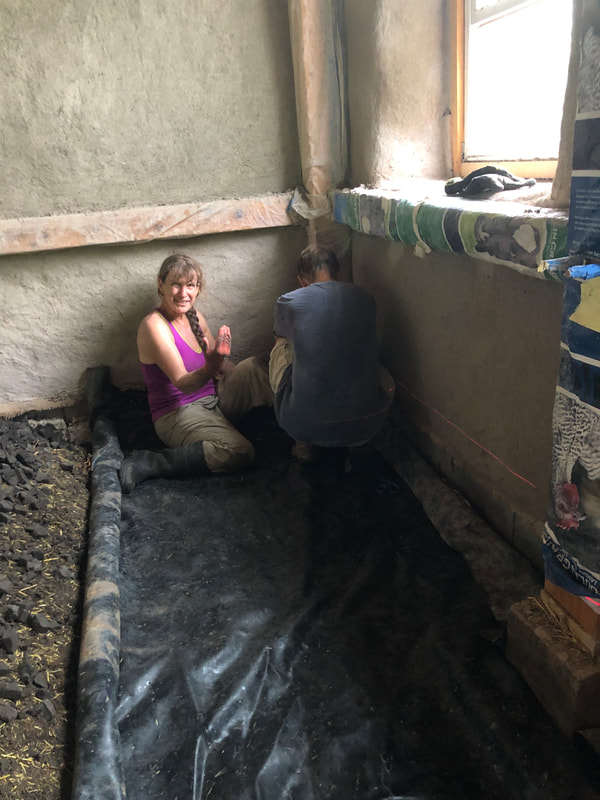
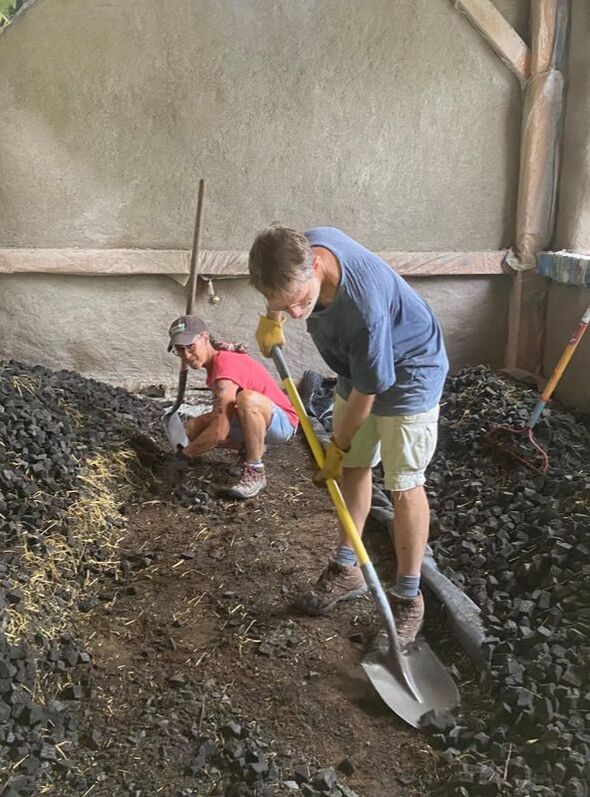
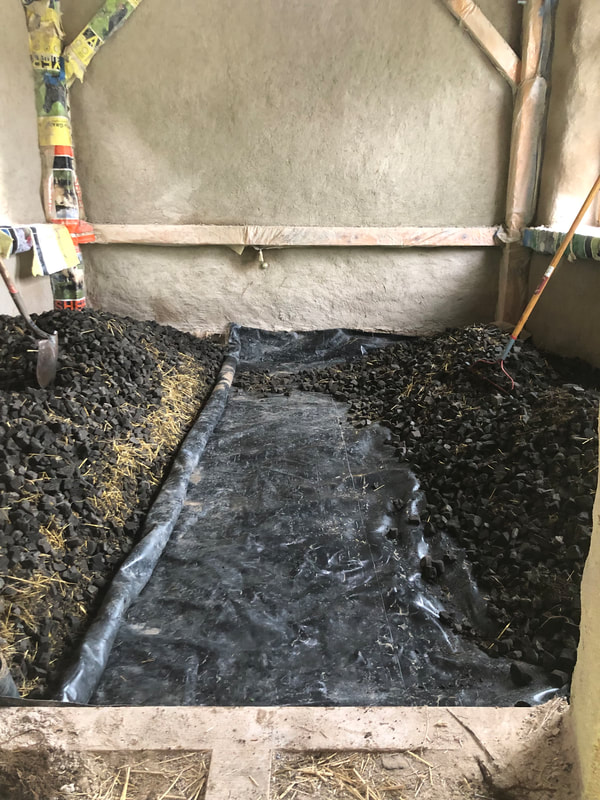
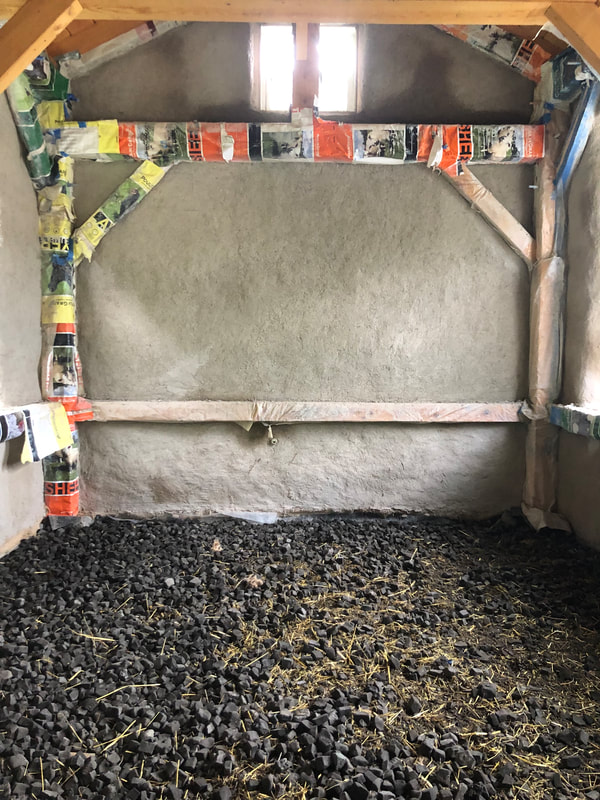
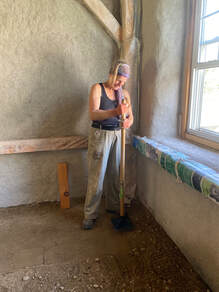
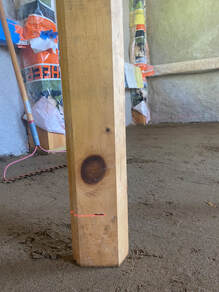
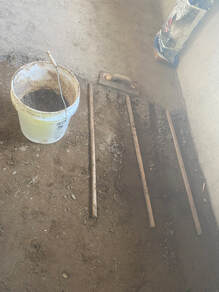
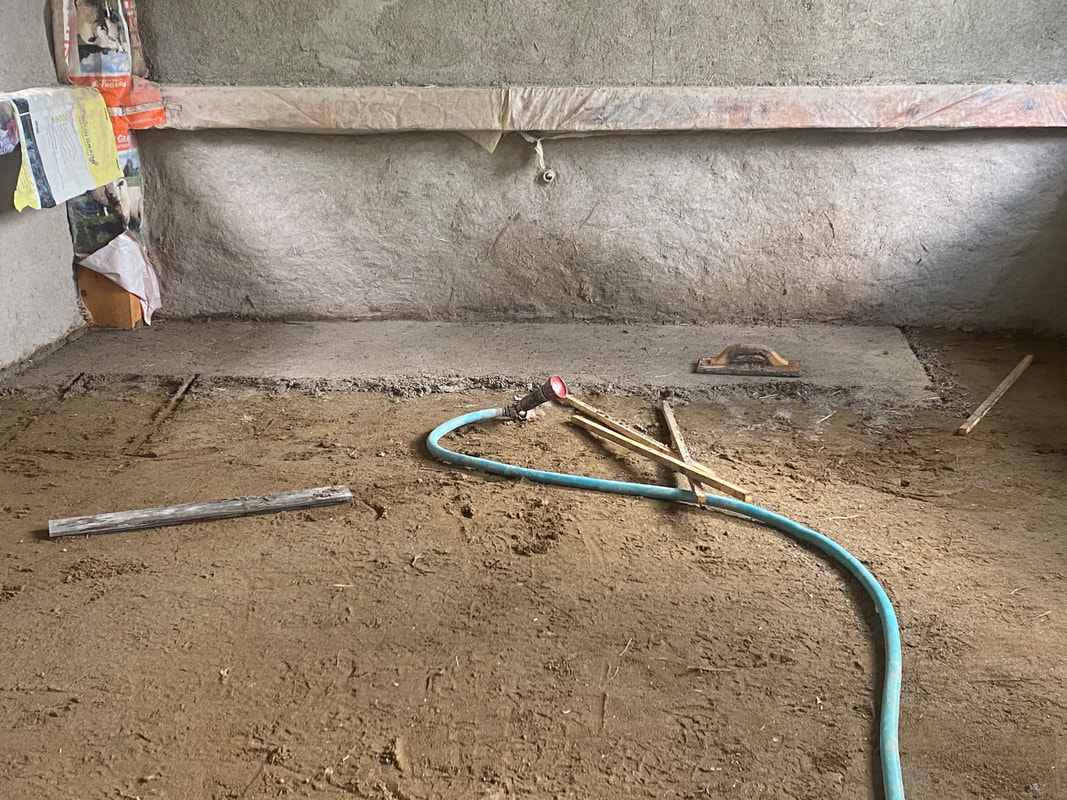
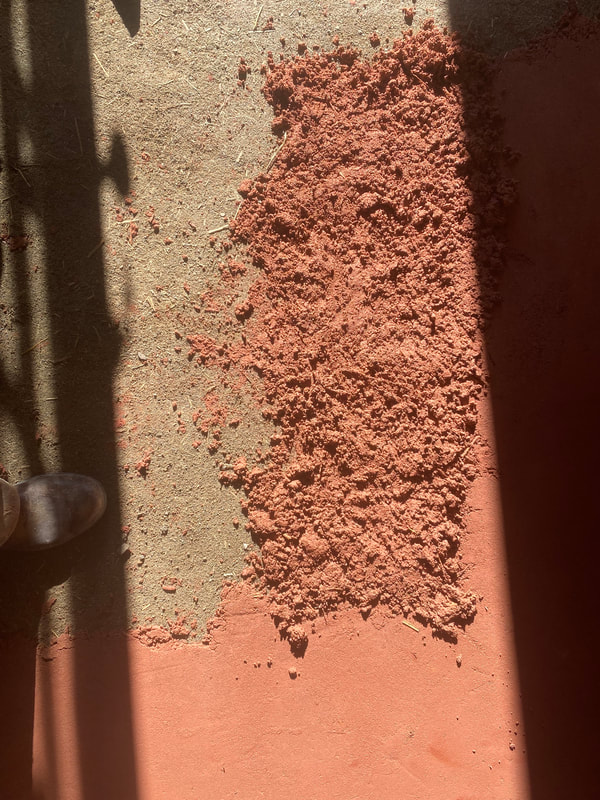
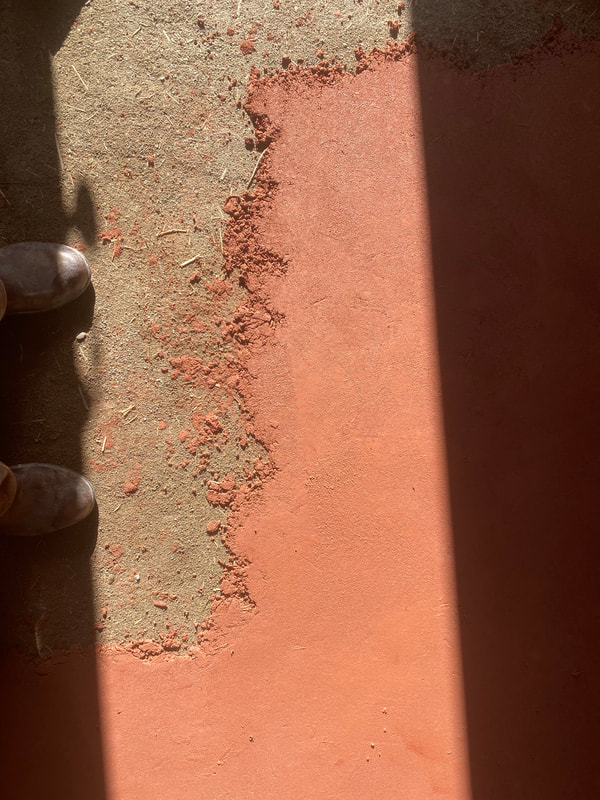
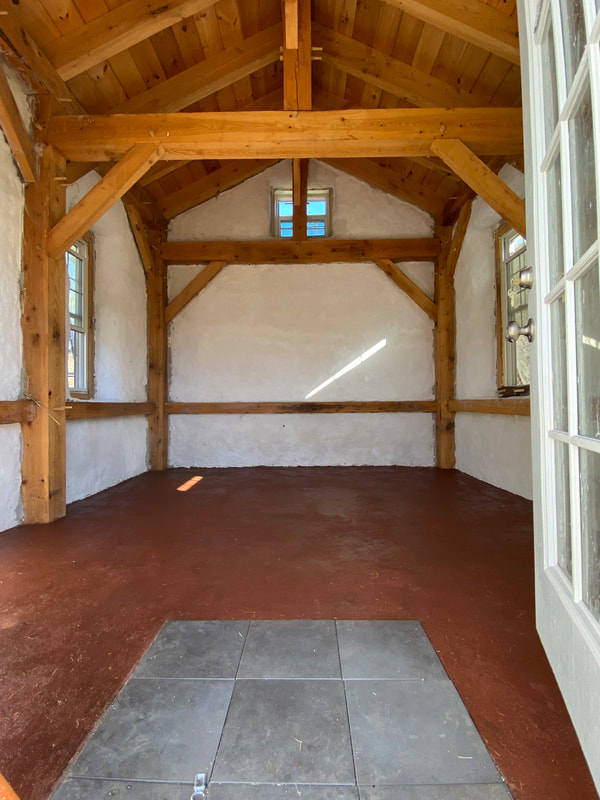
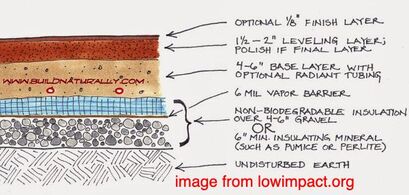
 The layers of our earthen floor, from the base up are well-draining natural soil (already in place!), vapor barrier, insulation, road base, first earth layer, finish earth layer, oil, wax. Starting at the base, our insulation material needed to be something rigid to support the weight of the heavy earth materials. One option is foam insulation boards – a fossil fuel industrial product, which we try to avoid. Others the internet suggested were pumice, a natural volcanic rock, or expanded clay pellets, neither of which I could find in the US. I did find, however, Glavel, a company right here in Vermont that produces recycled glass gravel with an R-value of 1.7 per inch and very high compressive strength. Bingo! To get our desired R-10 we would need to spread 6 inches, or 5 cubic yards. For our vapor barrier, I purchased the same natural rubber pond liner that we used for the roof. This was overkill, but at least it’s a natural product. About this vapor barrier, one early question was where to put it. Our Glavel product would function simultaneously as the gravel and the insulation in the Low Impact diagram we were using, but that shows the vapor barrier sandwiched between the two. Hm. Should our vapor barrier go on top or underneath the Glavel? Inevitably, if you are learning from the Internet and books rather than a person, your situation deviates from the described and you have nobody to ask for advice on the particulars. I Initially I thought the vapor barrier should go on top, so the folks at the straw bale workshop brought in all the Glavel and covered it in rubber (a good amount of work!). But, after consulting the diagram further, I figured we needed the vapor barrier nearer to the ground. So, on July 25, with our good-natured and fun Workaway couple Bill and Lisa, we swapped the Glavel and vapor barrier. We rolled up the rubber barrier and put it outside. We then moved the five cubic yards of Glavel to one side of the floor, unrolled half the rubber on the cleaned section, put all the Glavel back over that, unrolled the rest of the rubber, and then spread the Glavel evenly over the entire floor. Oh my! Good thing we could laugh about it! One of the costs of learning as you go. The next step was to tamp the Glavel down firmly. I rented the same tamping tool we had so successfully used for our rubble foundation wall. We managed to heave the 200 pound machine over the door vestibule into the building. But when we turned it on, two things became clear: one, it was virtually impossible to maneuver the thing in such limited indoor quarters, and two, it was spewing out carbon monoxide indoors. Oops. As we were not interested in suicide at that moment, it went back to the rental company, and we used our hand tampers. After an aerobic tamping day (July 28), using a 4-foot level to get an approximation of sound levelness, we were done. Layer number three (July 29) was road base, which provides the solid support for the earthen plaster. It mustn’t budge, because the earthen layer is only an inch thick and won’t be able to hold much weight by itself. The road base came from the stone quarry in the next town over, and we tamped it down hard – we got pretty good at tamping! This time we used a laser level to make sure that we had a floor that was level all around to within about 1/8 of an inch. Amazingly, this is possible with the laser, simple gravelly sand, and tamping sticks. Finally comes the earthen floor! The mix for the floor is 1 part clay: 5 parts sand: 1 part chopped straw and water to make a pretty dry plaster that crumbles a bit when you pick it up, but sticks together when you press it down. Sukita Raey is able to put down a pile of the mix and spread it out evenly with her trowel using a laser level to check her work, but I used another method she suggests working with ¾” thick wooden guides about 3 feet long. You put down two guides parallel to each other about 12-18 inches apart (more distance if you have more skill). Toss some plaster mix in between the guides, and then smooth and press the plaster using a metal trowel so that it’s exactly at the height of the sticks. At this point, you are really counting on the underlying road base layer to be nicely level, so that you can work with the guides – even if you can (and should) do some checking and adjustment with your laser. The earthen plaster must be laid in one day (July 30) — otherwise, the part you lay the next day will be wetter than the first days’ causing cracks between the two sections. I started early and worked until after dark, around nine. At seven, Mark took pity on me and came out and helped; otherwise I might have been there until midnight! This first earthen layer takes some weeks to dry. You can consider this your final layer, or you can add another thin layer, using more expensive or colored clay and sand. We got some white clay and mixed it with iron oxide (it may also be possible to just get a nice red clay!), then used fine sand, and extra finely chopped straw. The iron oxide is a great color! This layer goes on in one day as well (September 22), but it went much faster than the first layer since I did not use guides and trusted myself to get the quarter-inch thickness using my eye. After this thin clay layer dries — another week or so — you have quite a nice-looking floor, but it is highly vulnerable to water and wear. The strength to hold up under walking feet, moving furniture, tea spills, etc., is provided via an oil coat that soaks into the clay and hardens. You need quite a lot of it (my calculations called for a 5-gallon bucket), so you may want a cheaper alternative than what we used: a special earthen floor oil mix available from Heritage Natural Finishes It set us back $420 plus shipping. Sukita Raey’s book talks about simply using raw linseed oil, but because she is the one who developed the oil mix for Heritage, I figured we’d use the latter. You add the oil all in one day, in 5 or 6 coats. Careful: as you saturate the floor with the oil, it softens up a bit! I stopped with the coats when I felt the floor was getting too soft to hold me working on it. Another long day (October 2). The very last coat, that can go on after another week of drying, is an optional wax layer – this gives the floor a gorgeous shine and is totally worth it. We got the wax from the same company as the oil. The final result is splendid. It’s inviting and warm, and glows when sunlight falls on it. It’s beautiful and understated like the ancient earth it was made from. Resources: YouTube: Sukita Raey's video on installation: Earth Floor Sealed with Oil Book: "Earthen Floors: A Modern Approach to an Ancient Practice" by Sukita Raey and James Thompson. Book: "A Complete Guide to Straw Bale Building" by Rikki Nitzkin and Maren Termens, chapter on floors. Image for floor layers: https://www.lowimpact.org/categories/earthen-floors. This link also provides a description of a similar approach to ours. Pamphlet: "Earthen Floors" by Athena and Bill Steen available as a free pdf. We found Sukita Raey's technique more useful, but this pamphlet provides a useful and free written description of earthen floor installation. Comments are closed.
|
