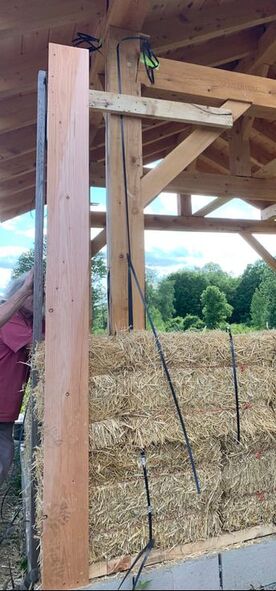
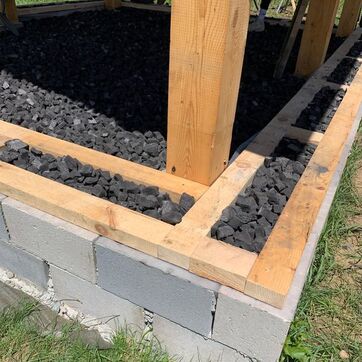
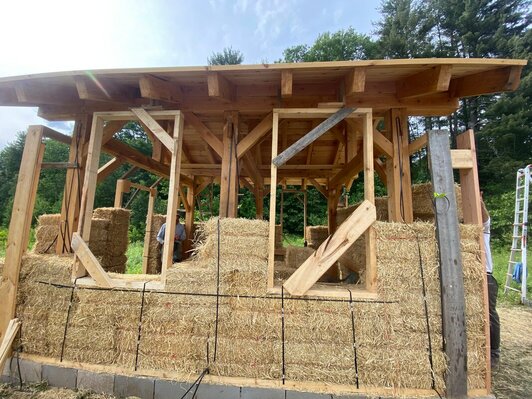
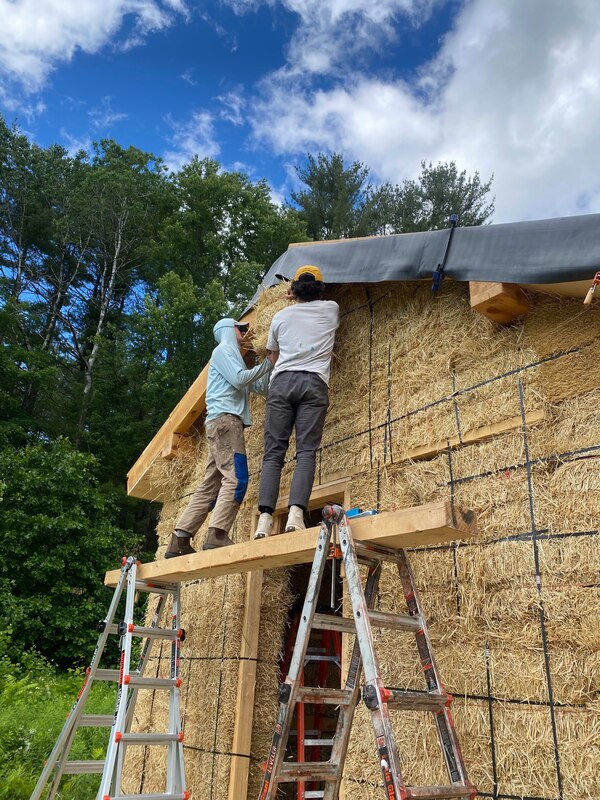
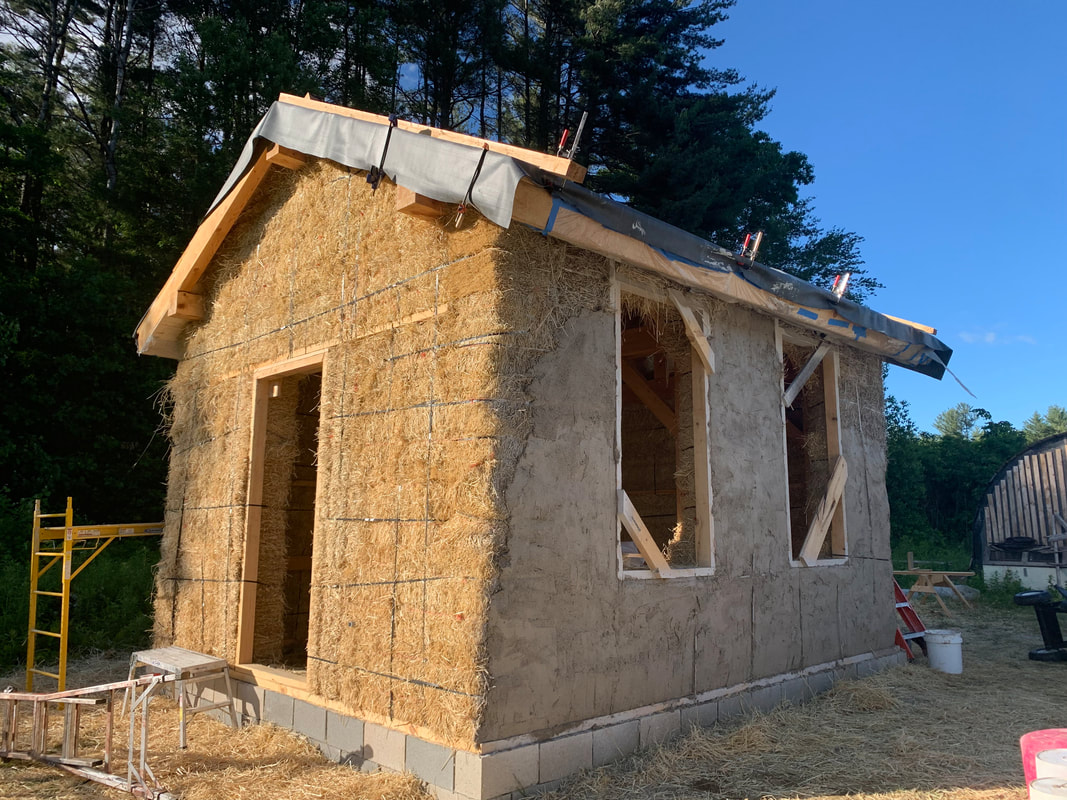
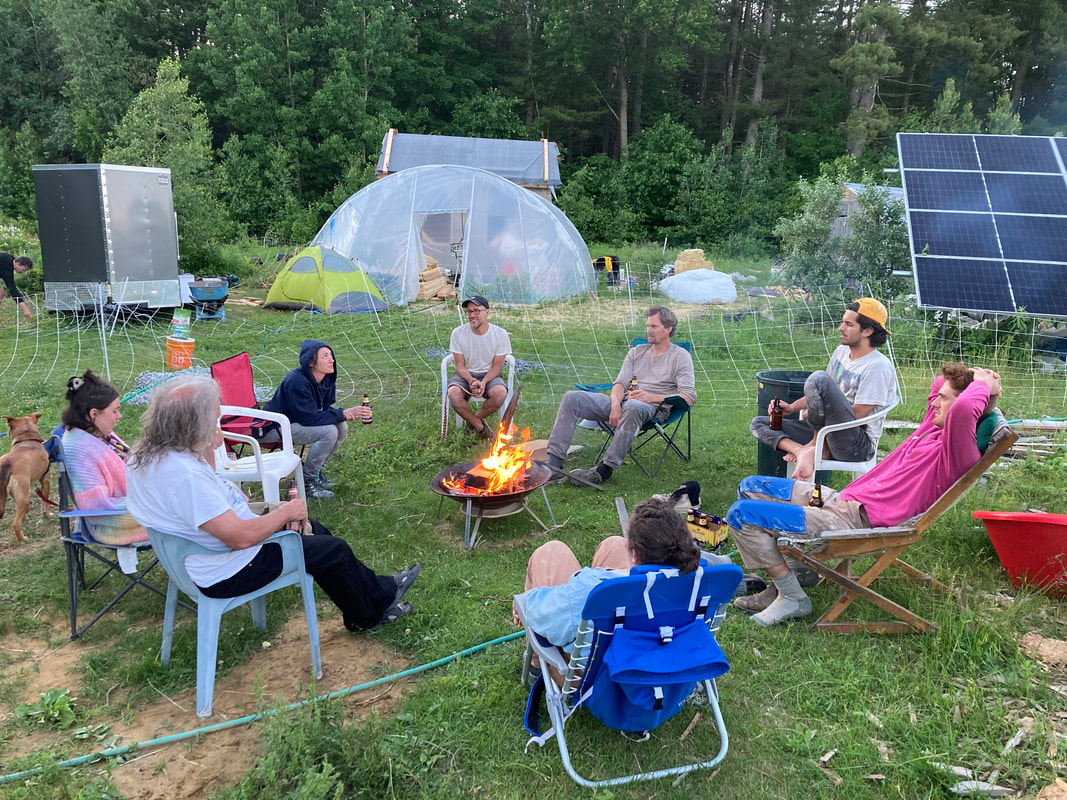
 Some things just go so fast. The straw bale walls of the little studio went up in four and a half days, thanks to the hard work of an enthusiastic group of folks who came to our workshop, and the able leadership of Michael. After having spent months organizing the workshop so that I could attend one without traveling to the other side of the country, I was ironically unable to participate because I was still recovering from COVID. Luckily, it all happened in our backyard. Every day, once or twice, I would go out, sit in a chair for a half hour or so, and take in all the activity before needing to go back to rest. In this way, along with conversations and lots of photos, I got the gist of what happened. On Sunday, everyone arrived and got straight to work. They first built a plate on top of our stem wall. The plate is a wooden frame made of 2x4’s over a moisture barrier. It separates the straw from the moisture-wicking concrete blocks. It also serves as an attachment point for pins or, in our case, straps to hold the bales in place. The plate and the cavities in the stem wall’s concrete blocks were filled with insulation – the Glavel pieces we also used under the earthen floor. The group attached corner guides 14 inches outside the timber frame – we were stacking our bales on their narrowest, 14-inch, sides to reduce the wall thickness. The guides are planks that extend from the plate to the eaves to ensure the corners of the straw bale walls are straight and square. They can be any old junk planks as they will be removed later.
Plastic straps were attached to the six timber frame posts, long enough to wrap around a bale. The bottom ones were stapled to the plates as well as to the timber frame where the bottom the top of the bale would be. For higher bales, the straps were attached just to the timber frame and wrapped. Straps long enough to go around two bales were attached to the plates all around the studio. The first bale went up in a corner. The straps were wrapped around it and tightened with a special strap tightening tool. Once the first course (row) of bales was up, I believe a second set of straps was laid across the bales that would hold the next two courses of bales together. The placement of the straps had to be done keeping in mind that the bales will be stacked in a running bond – which means the ends of each bale are always in the middle of the bales above and below it. The second course of bales went up and the straps were tightened around the first and second courses. Then the third course went up (putting in straps first) and the second and third courses were strapped together and so forth. At least, I believe that was the idea. As the walls went up, the bales were sometimes nudged into place using the giant persuader hammer we already met at the timber frame raising. My impression was that the straps method was somewhat confusing to keep track of, but that could have depended on who I talked to. There are other ways to hold bales together, using interior or exterior pins or sewing the bales together using a large baling needle (a long straight pin with a loop or notch at the end used to pull string through a bale). These alternatives are explained clearly with great pictures in Chapter 17 of the book A Complete Guide to Straw Bale Building.
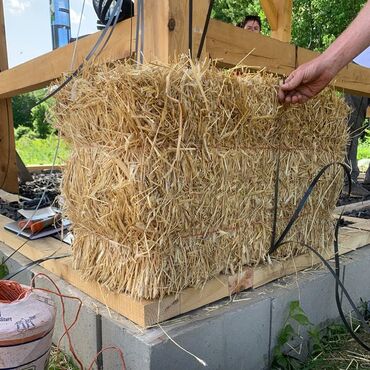
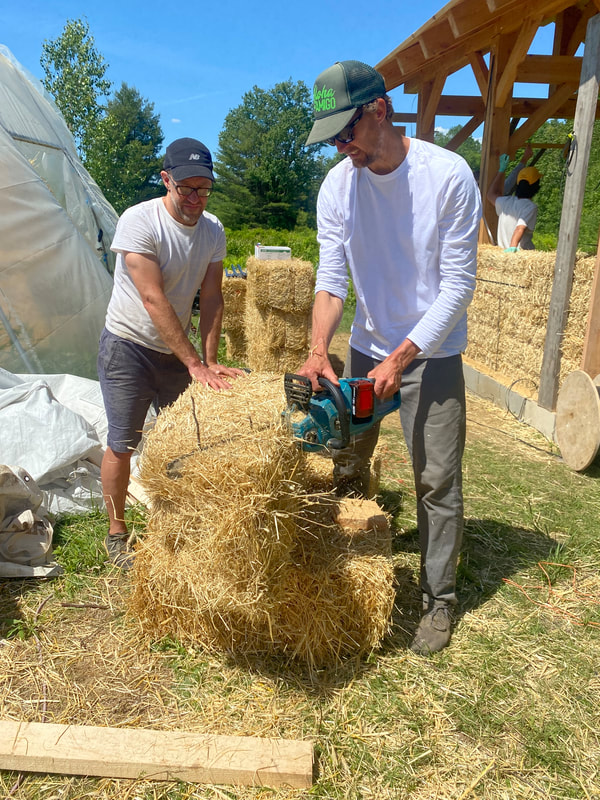
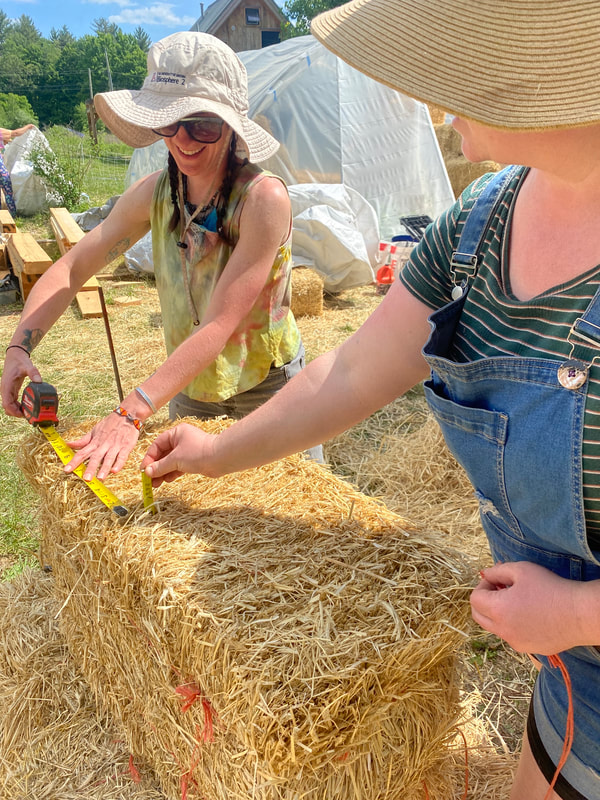
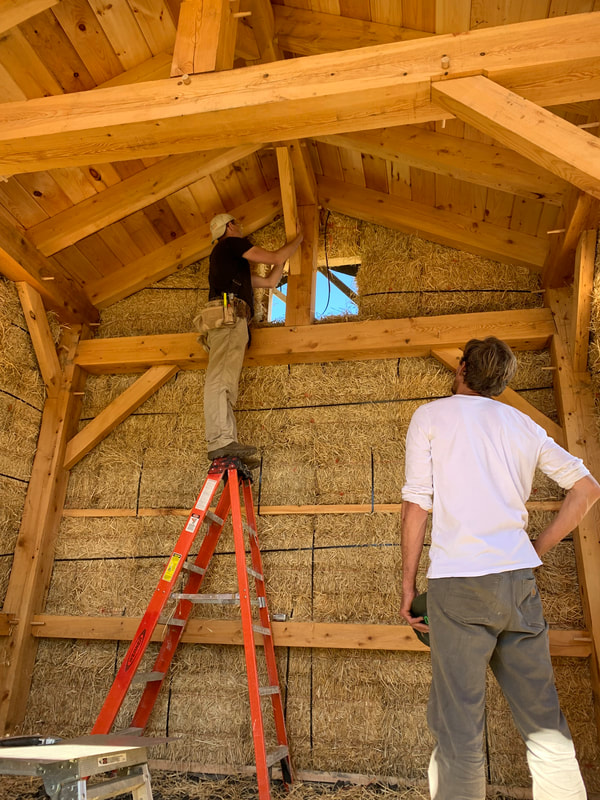
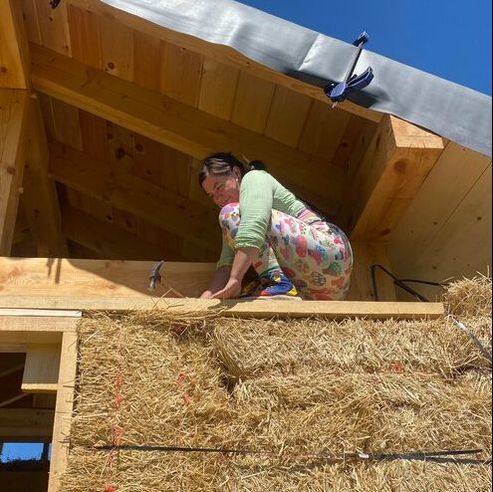
While some folks were putting bales up, others were trimming the bales – making them neater, taking off wayward straw bits with a small chain saw. Each bale needs to be trimmed before it goes up. Others again, were cutting the bales to size. At the corners, or where there are doors and windows, you will need custom-sized, smaller bales. Cutting the bales is done by pulling two pieces of twine through the bale with your baling needle at the place where it is to be divided. You can put twine around either side of the division to make two smaller bales, or just make one small bale. When you are done sewing, tie your twine tightly, and then cut the original long twines that were holding the whole bale together. The bale now comes apart into two smaller blocks. Descriptions of a baling needle and how to cut bales can be found on page 61 of Build it with Bales or pp 29-34 in the Complete Guide to Straw Bale Building. Yet another group worked on making the bucks – the outer frames – for the windows and the door. These are simple rectangular frames made with 2x4’s. The window bucks went up after the second course (at a 36 inch height) and were securely attached to the timber frame’s horizontal top plate.
  Comments are closed.
|