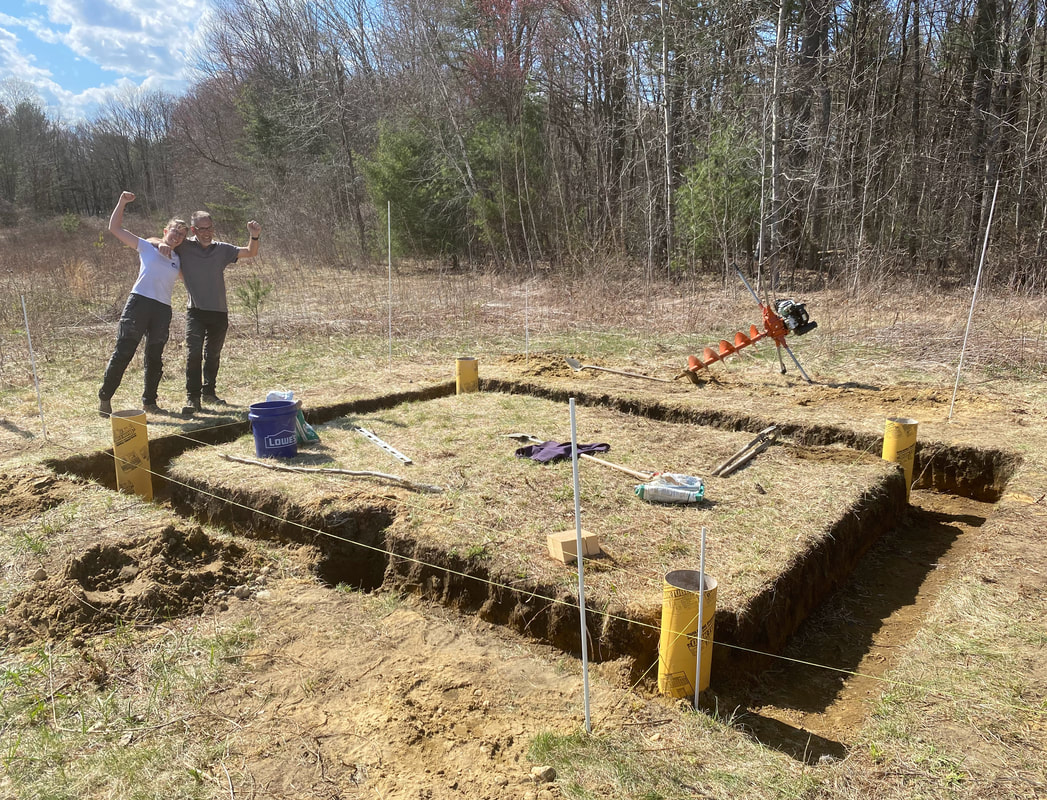
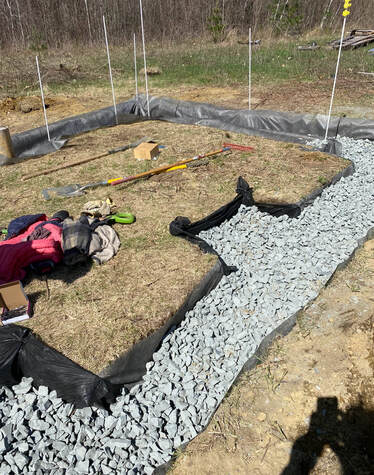
The foundation of a house has two parts. Underground is the support that should go down to the frost line. It keeps your house from sinking into the ground and from moving when there are frost heaves. If you have a timber frame, this foundation should also have piers specifically under the timber posts. Aboveground is a short stem wall that can tolerate moisture from snow, rain, and wicking from the ground and that supports the rest of the walls. Usually, the underground foundation is made of poured concrete, which of course is a material with tons of embodied fossil fuel energy. But there is an alternative – of which Frank Lloyd Wright is the most famous user – which is a rubble trench. The trench is dug to the frost line and the bottom is at an angle, so that water can flow around and out of the trench away from the house. The stem wall is usually made of more poured concrete or concrete blocks, although you can also make it out of recycled tires filled with earth, or you can use the traditional method and build a stone wall. Here is what we did. First, we (mostly Paul and Hermine) dug a trench as far down as we could go while also maintaining an angle – we hit water at 2 feet. This is not the frost line, but we simply could not go any deeper. If you can dig down to the frost line, by all means do; it is the preferred and more secure approach. That said, the sandy soil is extremely well-drained and I have yet to see evidence of frost heaves. In fact, that frost seeding we did in March, which is supposed to take advantage of small daily heaves to work seeds into the soil, did nothing because the soil did not move. So hopefully, we will be OK! We used levels to measure that the slope was indeed going down. We also dug six big 2x2’ square holes along the inside of the trench where the timber posts would come down. Next, we lined the trench with fabric to keep it from filling in with loose soil, and filled it with coarse 1 ½” stones. We rented this cool machine that packed the stone down. Again, a lot of this was Paul and Hermine, I don’t know what I was off doing… (shirking work no doubt!).
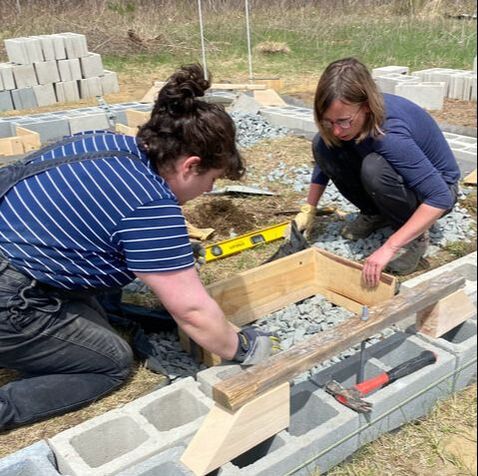
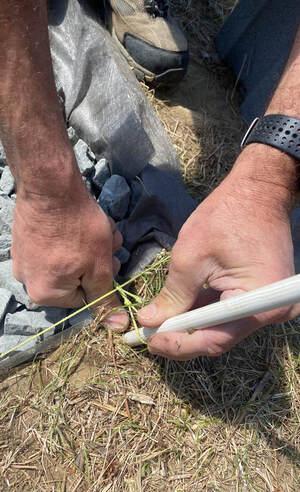
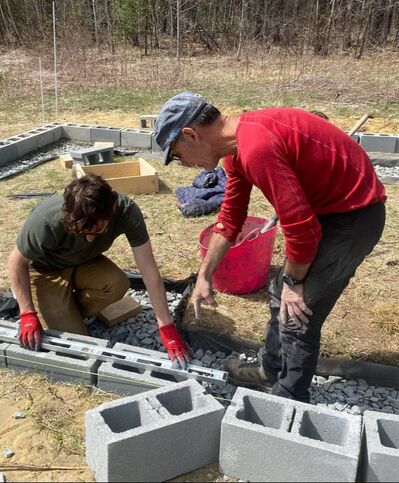
The next part was to build the stem wall and the concrete piers for the timber posts. Our design was a double row stem wall out of concrete blocks. I had wanted to use recycled tires, but Michael, who is leading the straw bale workshop, dissuaded me saying the aesthetics were not good. Any way, it seemed like it was not a huge amount of concrete as they are hollow blocks. The double row is to accommodate the 16” wide bales (each concrete block in 8” wide). We started with the outside row, making sure it was square and level. This of course took hours of careful measuring with string and levels, including the use of the famous "half thumb width" to indicate how far a post with a string had to move over (see photo).. We then put in the second, inside row of blocks, leaving openings for the six large 2x2’ concrete footings for under the piers for the timber posts. A few words on these footers. Usually, what you do, is dig a hole to the frost line and you pour a large footer that is the base for your pier. Then you pour a tall, narrower pier of concrete on top of the footer. In our case, we couldn’t figure how to pour the footer deep down because of the water, so instead, we poured big 2x2 concrete footers reinforced with rebar on top of the stone rubble. Mark and I had done the math that the six 2x2 would be large enough, given the compressive strength of the sandy soil, to support the approximately 30 tons of the house with a snow-load on the roof. I realize that having the footers on top of the rubble is unconventional, and it would be interesting to know what an engineer would think of it. My reasoning is that basically we created very fat piers with the rubble, and then we put the reinforced concrete footers on the top in order to distribute the weight of the timber frame posts over the entire rubble pier. Am I right or am I crazy? Time will tell – if the studio keeps standing up straight, it was OK.
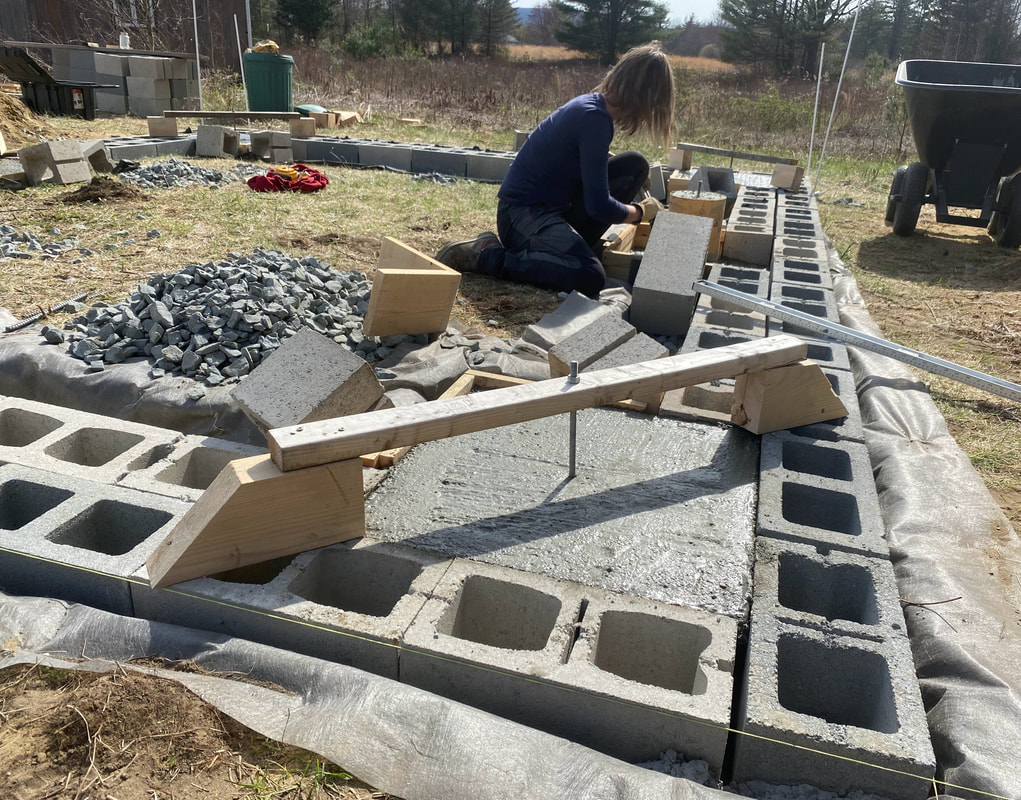
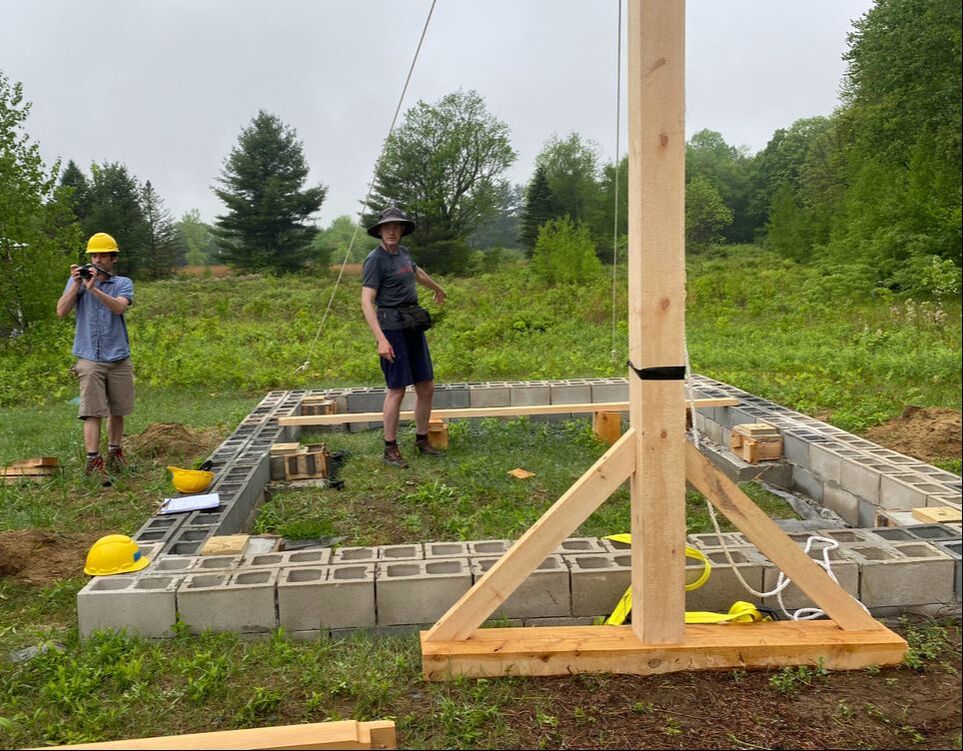
We then put in the second double row of concrete blocks. By the time we were at this second row, the tops of the blocks were no longer entirely level. We are not quite sure what happened – we were unable to correct it by varying the thickness of the mortar. Let’s just say, making a straight, level wall is a skill. Finally, we poured little square blocks the size of the timber posts on top of the big footers inside the stem wall. The last photo at the bottom shows the completed stem wall, with little wooden blocks on the timber post piers and the gin ready to lift the timber frame up on to them! The stem wall and footers took many days. It was a lot of work to get the blocks straight, to build the wood frames and pour the concrete, but also, it took hours to do all the nit-picky measurements to make sure the little blocks were in exactly the right places and the tops were all level with each other. Overall, we worked on the stem wall and the piers from April 22 to 29. We started on the trench digging on April 13. We did some other projects in between as well, notably, finishing our very cute farmstand and planting a few 100 trees, but still, it was a good amount of work – well done!! So there you have it, that is how we built the Big Foot Straw Bale Studio foundation and stem wall!
Comments are closed.
|