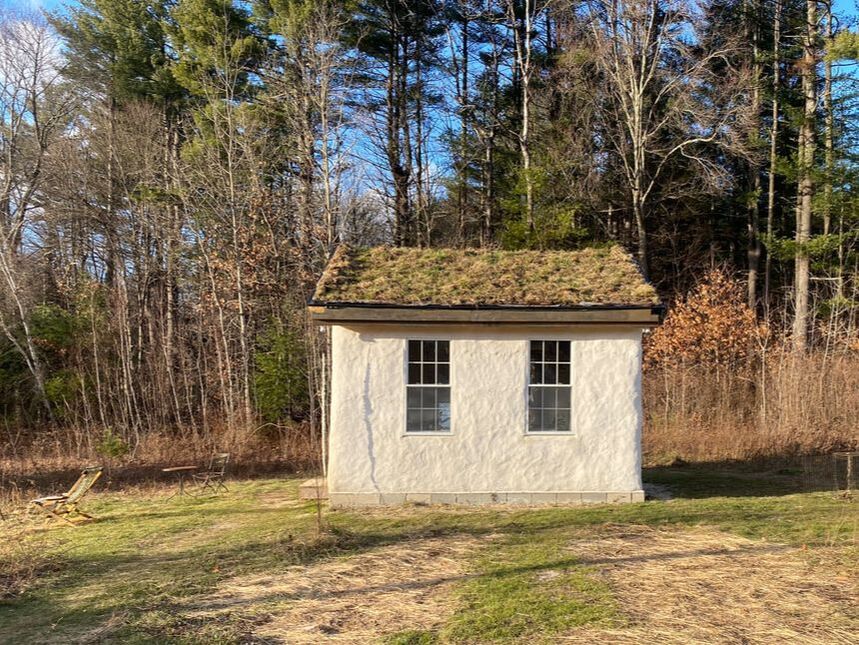
 When it rains, a hat keeps us comfortable and dry, and when the sun is glaring down, a hat keeps our head cool. Our straw bale house was going to get a green meadow hat. It would absorb the rain, keep the house cool, and look awesome. We were inspired by the ancient sod roofs of Scandinavia. In 2015 my daughter and I took my mom to the northern tip of Norway to see the midnight sun (a bucket list item). We did see the midnight sun shining bright and nearly white on the quiet fjord. We also saw sod roofs on the little summer cottages, and I loved the untidy riot of wildflowers and the bird family nesting up there. That image is my hope and dream for our sod roof. Sod roofs are not common in the anglophone world. We found plenty of information on green roofs – in particular ones that require purchasing a lot of expensive, special layers made out of synthetic materials – but that was not the look we were going for. Here and there we found descriptions in English of how the ancient sod roofs were built – with layers of birch bark, and a double layer of sod. A useful account – and a fun read – was the chapter on the sod roof in Tony Wrench’s “Building a Low Impact Roundhouse”.
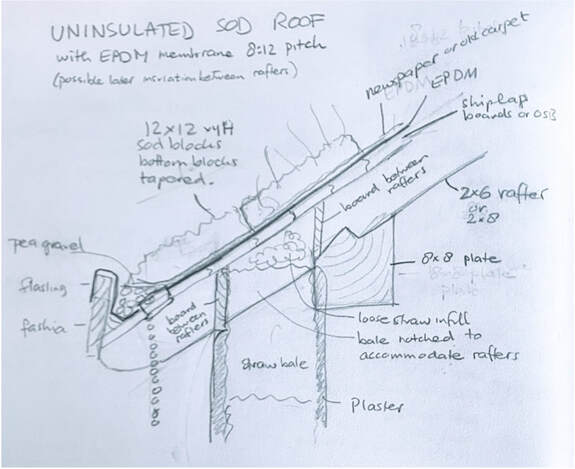
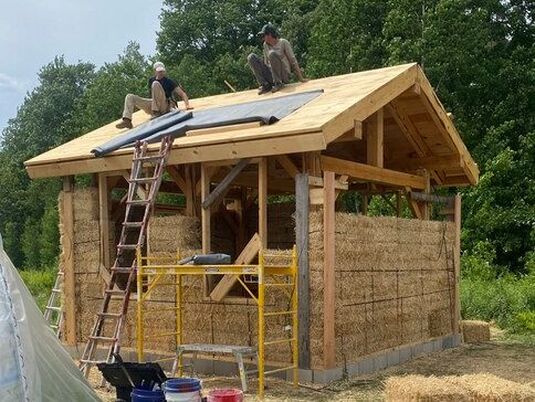
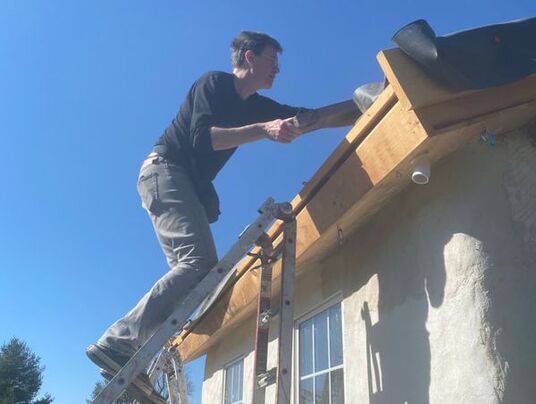
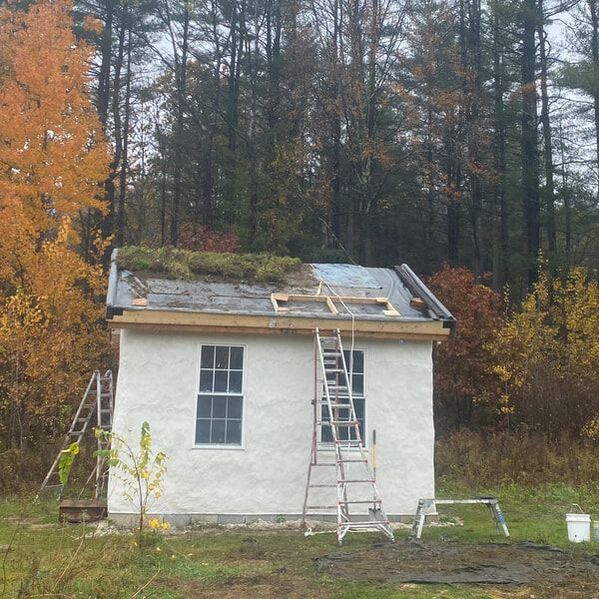
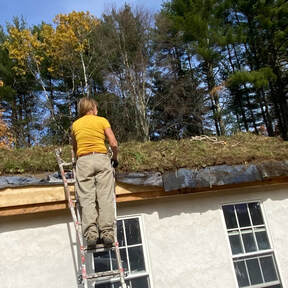
Mark put up the roof decking by himself while I was recovering from COVID. It is much better to do this job with two people, but if you must do it alone, then, after you have put up the timber frame, keep that temporary floor over the cross-beams. Mark pulled the decking boards up there, using pulleys and ropes. He attached a few scrap wood pieces to the ends of four rafters, sticking up about 3” so that he could rest the bottom decking board on them and screw it in. He worked his way up from there, on a ladder for the first few boards, then working from the inside standing inside on the floor. For the last few boards at the ridge, he had to work on the outside of the roof again, standing on some blocks he had screwed into lower decking boards. I am glad I did not see this or I would have died. If you do this at home, please purchase a roofer’s harness and wear it! On June 7, team at the straw bale workshop heaved the very heavy folded-up EPDM onto the decking using a ladder, a 6 foot scaffold, and multiple strong folks. Where it goes from there depends on how the thing is folded, but in our case, they unrolled it so there was a wide strip going across the roof. From there, they unfolded it up and then over the roof. They then laid two long dimensional 2x4’s (the point is just long and heavy) on either end of the roof and attached them at the top. These basically weighted the EPDM down for the next few months, until we got back to the sod roofing. We didn’t get back to the roof with our next step until mid-October. Mark got back on the ladder and put drain spouts in the corners. He bought shower drain kits from Home Depot and attached a 10” PVC pipe to the bottom part of it. He then drilled a hole into roof decking to receive the lower part of the shower drain kit, and a smaller hole in the planks that we had put up under the eaves to cover the rafters, where the drainpipe would come out. This takes a lot of measuring, but, in the usual Mark way, in the end, the shower drain, and pipe fit through their respective holes perfectly. He then cut a hole in the EPDM, placed the hole over the lower part of the shower drain kit, screwed the upper part of the shower drain over that and finally sealed the whole thing. Then, he put the 2x10” border on with a 4” lip extending above the decking, and laid the edges of the EPDM over it, so that we had something resembling a very shallow tub.
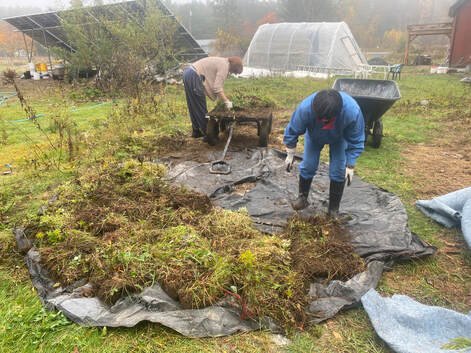
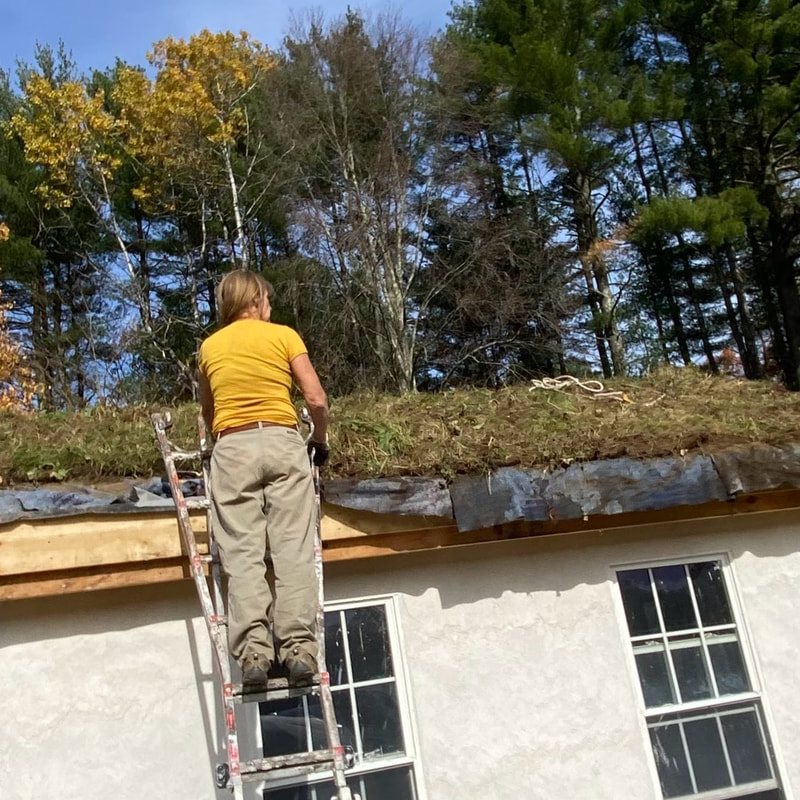
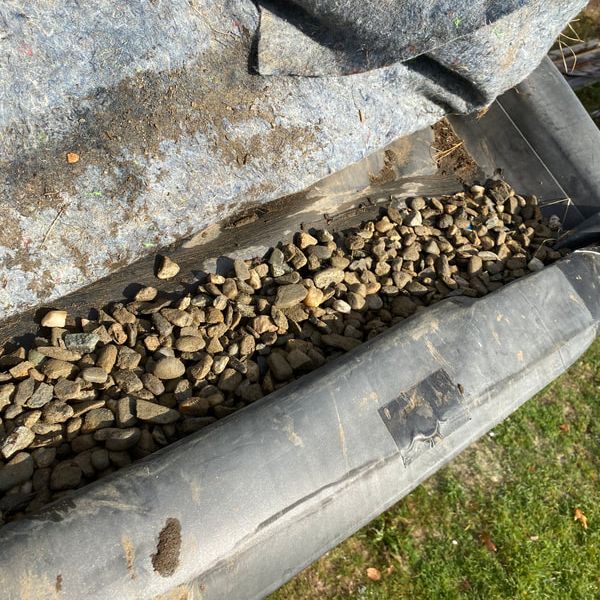
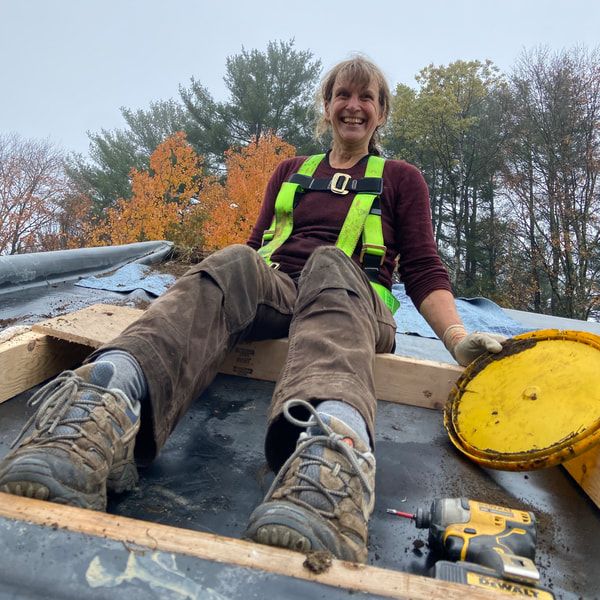
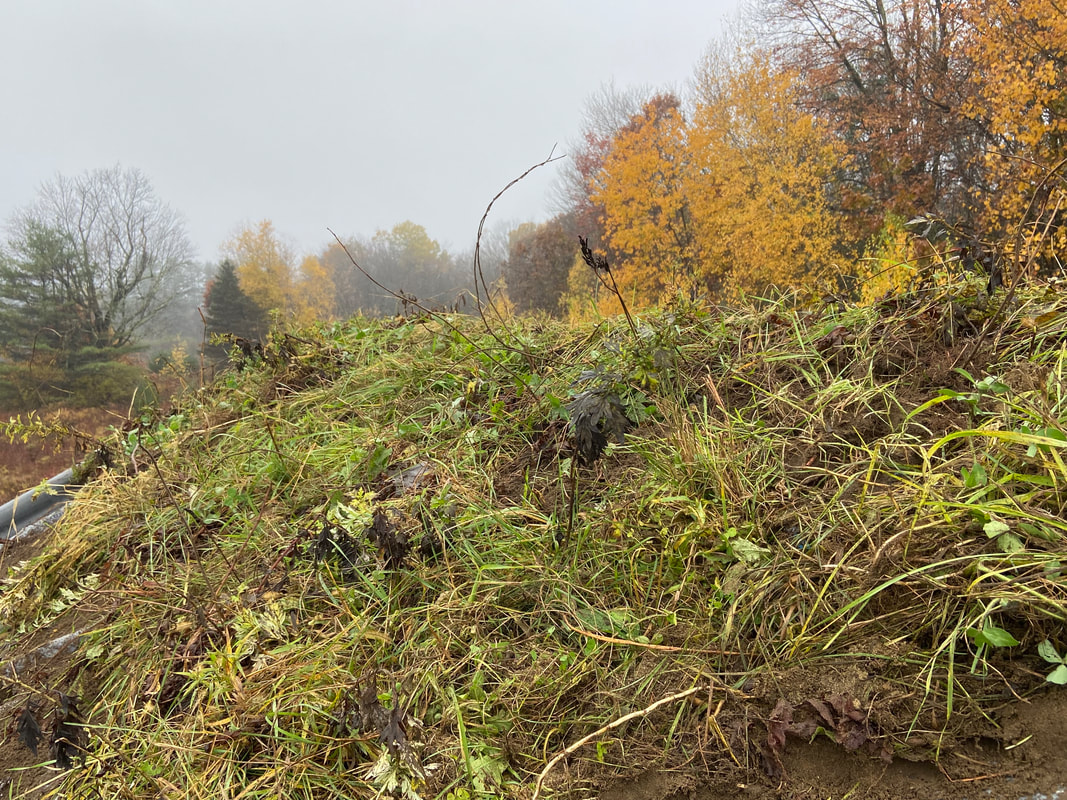
I started from the top. If we had started from the bottom, eventually I would have had to climb over barely attached sod squares to get to the top. It would also have made lifting the turf up more difficult for Bessie if she was lifting over squares. In the “Building a Low Impact Roundhouse” they start from the bottom, so you can do it as you figure is best. I would put each new square right up close to its neighbors and give it a few whacks with a large rubber mallet to get it more firmly in place. Initially, I had the sod leaning over the edges of the roof but changed my mind: now the sod pieces are all inside the tub. At the bottom, near the eaves, we put in a layer of pebbles for drainage, covered that with geotextile so no turf could get in, and laid the last row of sod squares. It really looked quite fantastic! I had been pretty apprehensive about this particular task, but really, it turned out to be quite simple. The roof is 10’ on each eave side and it has a 30 degree slope, so I was not going to be able to get up to the ridge by standing on one of the border at the bottom. The solution – proposed by my ever-clever Mark – was to build a frame out of 2x4, roughly 3 feet high and 5 feet long, that we laid along the border and which I used as a step to get to the upper parts of the roof. Above is a dandy photo of me sitting on it!
The last step was to put drip edges over the lips of our tub, which Mark did. This also covered the EPDM that went over the tub edge, protecting it from UV rays. The finishing touch was rain chains to go down from the rain spouts. We had to tinker with the attachment to get them to channel most of the water down the chain. It still splatters a bit against the lime walls of the house. I expect that the first couple of years will require some weeding, to make sure that we don’t get undesirable things like bittersweet up there, and maybe also some watering in the first year (although I imagine the Vikings did not water theirs!). If all goes well, over the years, the roots of all the plants will bind the sod together into a solid mesh, and some hardy species will survive out of the diversity of plants that were in our sod squares. Maybe some birds will drop some seeds of pretty flowers, and who knows, make a nest up there to raise their young… Comments are closed.
|
